This is a critical initial step: Take all the doors off, draw the cabinets out and eliminate the hardware knobs as well as hinges. Some people attempt to save time by painting every little thing hinges and also all while they're still in place, yet Petersik warns that it's not a lasting fix. "Your cupboards and equipment will start to or also instantly." When the paint on the joints begins to crack, all you can do is sand everything down and soak the hardware to get rid of the paint, so conserve on your own the aggravation.
An item of covering up tape stuck to the rear of each piece will certainly do simply fine. You should (believe "above sink, left") so there'll be no guessing where it goes later on. Then stash screws and joints in a container for safekeeping. FotosearchGetty Images Even if your closets remain in near-perfect condition,.
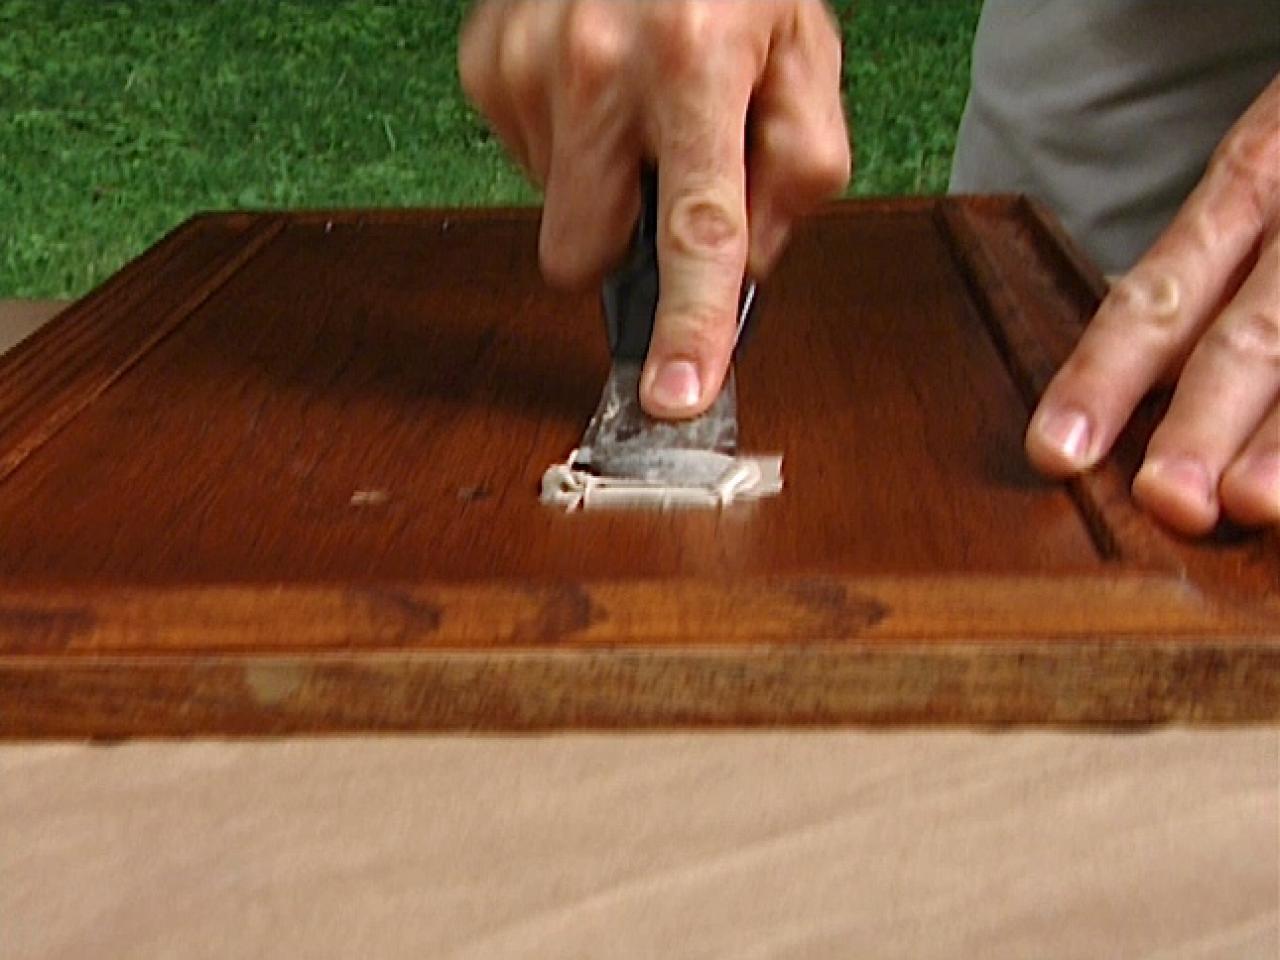
" You're not trying to obtain down to the bare wood," states Petersik. "You simply intend to take the surface from shiny to matte."Vacuum cleaner up any debris before you even think about dipping that brush in paint. Simply a couple of pieces of dirt can spoil the look: "You'll obtain a sandy finish and it'll appear like you repainted over sand," claims Fahrbach.
Lay doors on painter's pyramids so you can much more conveniently maneuver a brush around the lower sides. It's alluring to miss this step, however consider this: "Your finished kitchen can look fantastic then, 3 weeks or three months later on, knots in the timber can begin to bleed through your paint," advises Petersik - cabinet painters cincinnati.
The 8-Minute Rule for Painting Laminate Cabinets - Dos And Don'ts - painting wood cabinets in kitchen Bob Vila
Do not simply jump right in: You should start by repainting the rear of the doors rather than the front. Why? Due to the fact that if you turn the door prematurely and also the paint spots, it will certainly a minimum of face the within the cupboard. Certainly, there's no right or wrong color for your own cooking area.

" This job is very easy, yet it's not the sort of job you're mosting likely to intend to remodel at any time soon if you don't like the shade," states Petersik. cabinet painters 28227. She suggests painting a big poster board with a tester can in the color you're taking into consideration (you can typically obtain a little one for simply $5).

While it might be a bit greater than a few other paints on the rack, it deserves it. And also you likely won't be utilizing greater than two gallons of paint, so expenses will not be as too high as if you were repainting an entire area. Worried regarding noticeable brush marks? Virginia at Live Love Do It Yourself.
Yes, it's super aggravating to wait days for paint to cure. But (a difficult fact any lady who's hurried to leave the nail beauty parlor undoubtedly understands). "As long as it eliminates me to look at the doors on the floor drying, I would certainly much instead wait than jump the gun," Petersik says.
The Step-by-step Guide To Painting Kitchen Cabinets ... - Questions
Every cooking area ultimately reaches the point at which it looks damaged. That's the time to take supply of your options. Every person is aware that kitchen improvement is expensive as well as bothersome. However, an easy as well as low-priced choice is to repaint the kitchen area closets. This choice is one that many individuals fall short to think about, in spite of the truth that older homes commonly have actually painted carpenter-built cabinets that have stood up to years of usage.
The cupboard paint procedure begins with prep work. The far better you prepare the cupboards, the far better completion outcome. Start by removing the drawers. Older cabinets slide in as well as out of a dental caries. Others relocate with side-mounted or bottom-mounted equipment. These slides might clip on the drawers, or you may have to relocate the drawer out and tip it ahead or back to free it from the slides.
After that get rid of the joint from the door. Utilize a screwdriver to remove the 2 screws that attach a drawer pull or a door take care of. Remove the placing screws from door joints and also drawer pulls (Figs. 2 and 3). If you are replacing the pulls with new equipment, remember to determine the hole spacing to figure out the correct size of substitute pulls.
Next, make use of a sponge or nylon scrubber as well as carefully clean all cupboard surface areas making use of powdered trisodium phosphate (TSP) cleaner liquified in warm water. You can buy this grease-cutting cleaner in equipment stores as well as paint shops. Wash the surfaces and also let them completely dry. Load dents as well as scrapes with timber filler or drywall compound.
3 Easy Facts About Prep Your Cabinets To Paint - Seeking Lavendar Lane Described
This procedure boosts the surface of the repainted object and also boosts guide adhesion by providing a better mechanical bond. Full the preparation by applying covering up tape to surface areas you don't want painted, if they adjoin ones that will certainly be painted. Begin by painting the indoor surfaces of the closets.